Schedule emails by selecting lists, setting delivery time, and applying suppression or tagging options.
Clicking on the Schedule & Send option or continuing through creating a mailing will bring you to the scheduling page. This page has been condensed to make scheduling a message even faster and streamlined. The first option you will land on is Lists.
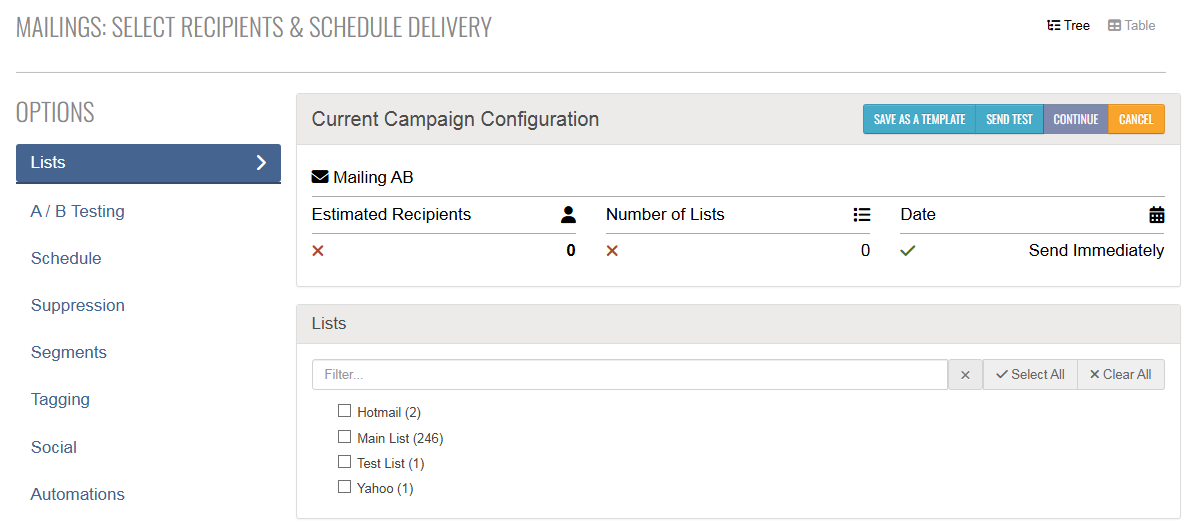
Lists
In the Lists section:
- Select the lists you want to send to
- Click Continue to send immediately, or
- Choose Schedule to set a specific send time
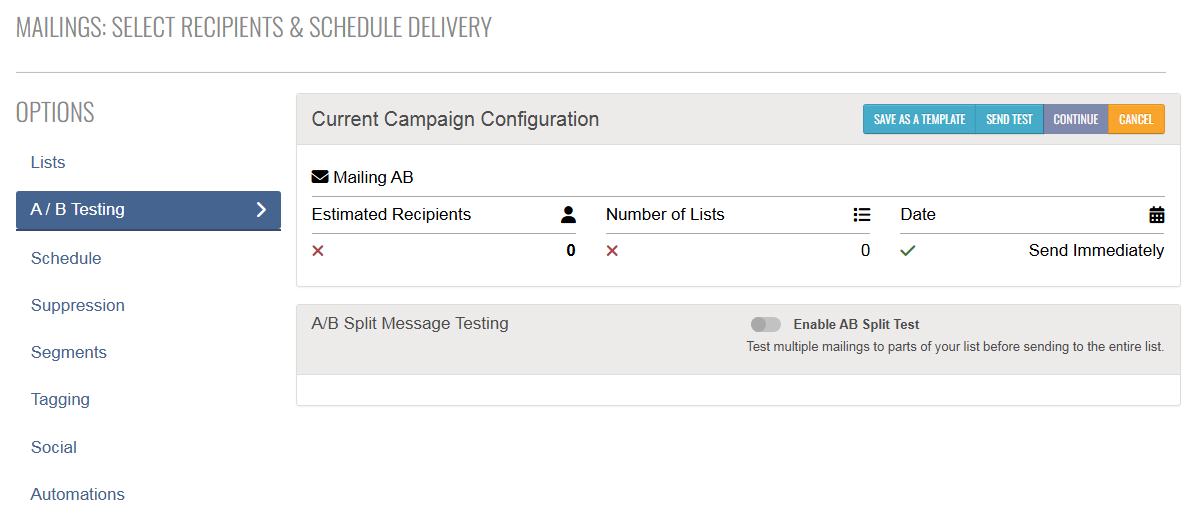
A/B Testing
The A/B Testing section lets you test multiple mailing variants on a portion of your list before sending to everyone.
- Ideal for testing changes in From Name, Subject Line, or Preheader Text while keeping the main content the same
- Enable this option on the Schedule & Send page
Full support guides are available for both our quick Schedule & Send A/B Testing and our Advanced A/B Testing.
Schedule
The next page is the Schedule page.
- By default, messages are set to send ASAP – click Continue to proceed
- You can also:
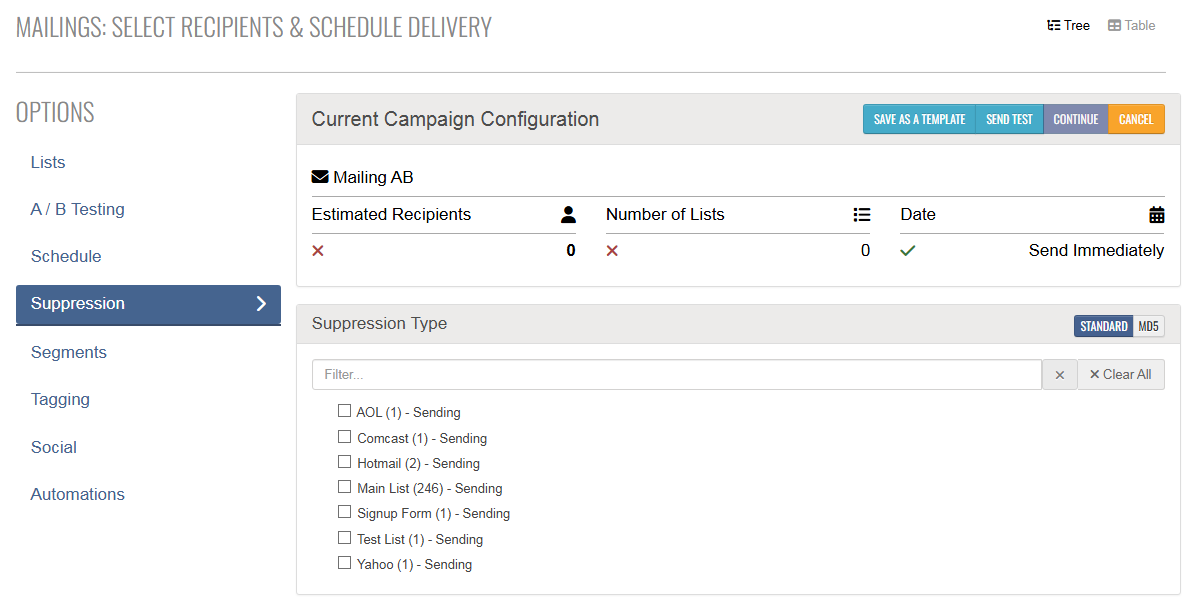
Suppression
To prevent specific addresses from receiving your campaign, use the Suppression option:
- Go to the Suppression page
- Select one or more lists to exclude
- Choose the suppression type:
-
Standard – for normal lists
-
MD5 – only if using an encoded suppression file
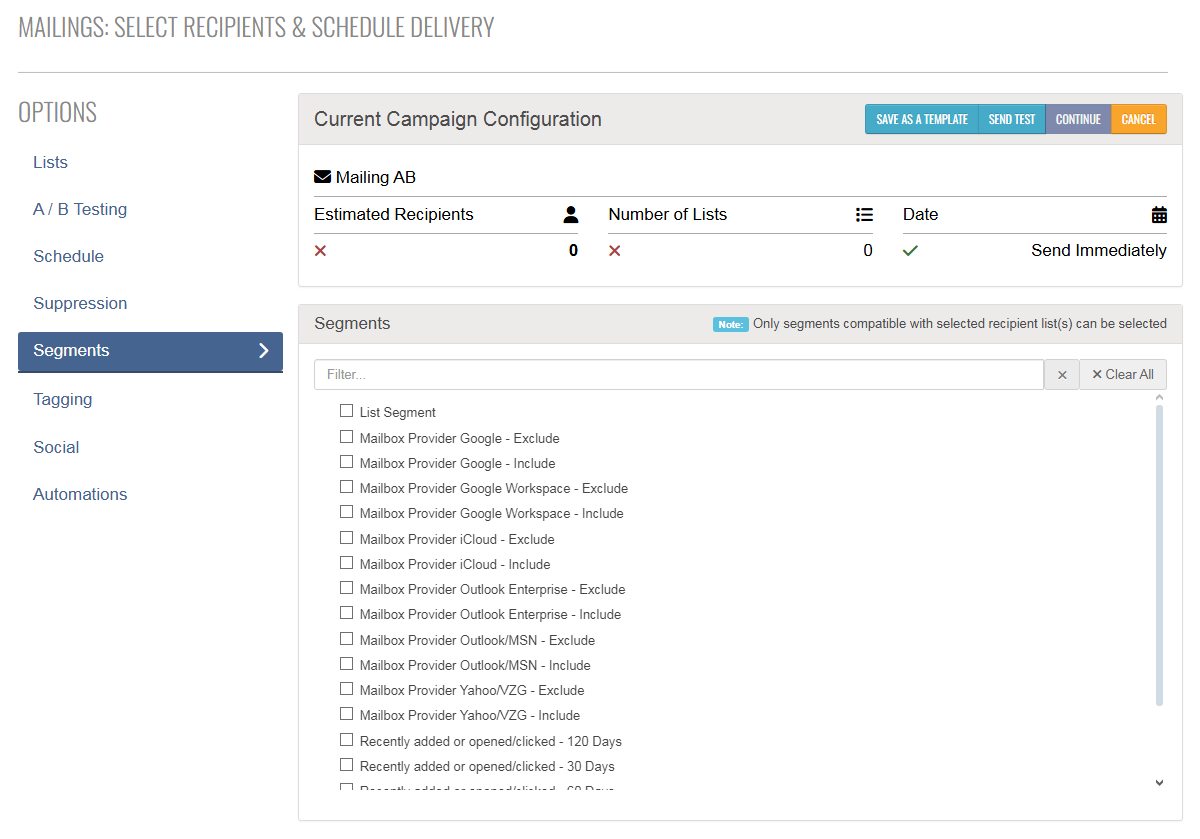
Segments
To add a segment to your campaign:
- Select Segments from the Options menu
- On the Segments page, you can:
- Apply custom segments you’ve created
- Use default segments based on mailbox provider or recipient engagement, prebuilt for your lists
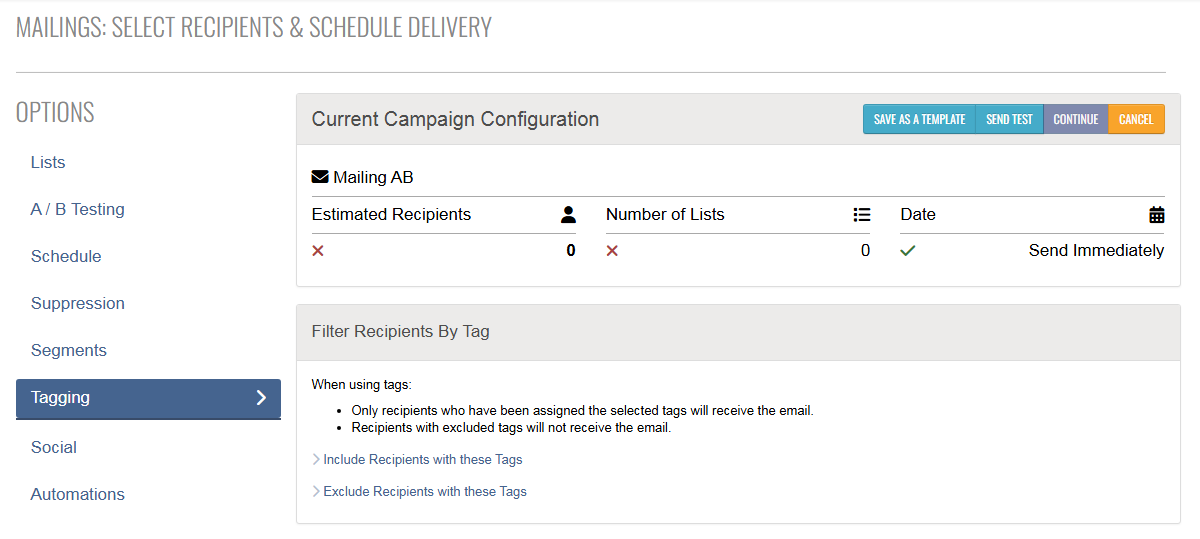
Tagging
Tags provide another way to target your recipients:
- Use the Tagging option to include or exclude recipients based on selected tags
-
Exclusions take priority – if a recipient matches both an included and excluded tag, they will not receive the message
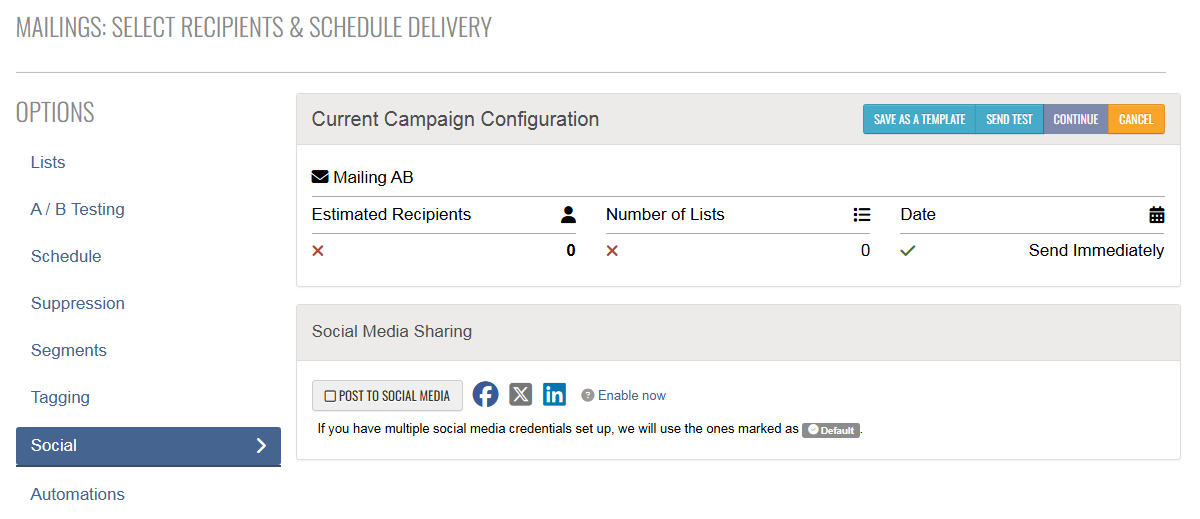
Social
To share your campaign on social media:
- Select Social to post to Facebook, Twitter (X), or LinkedIn
- Check Post to Social Media when scheduling your campaign
- Connect your profiles by clicking Enable Now next to the social media icons
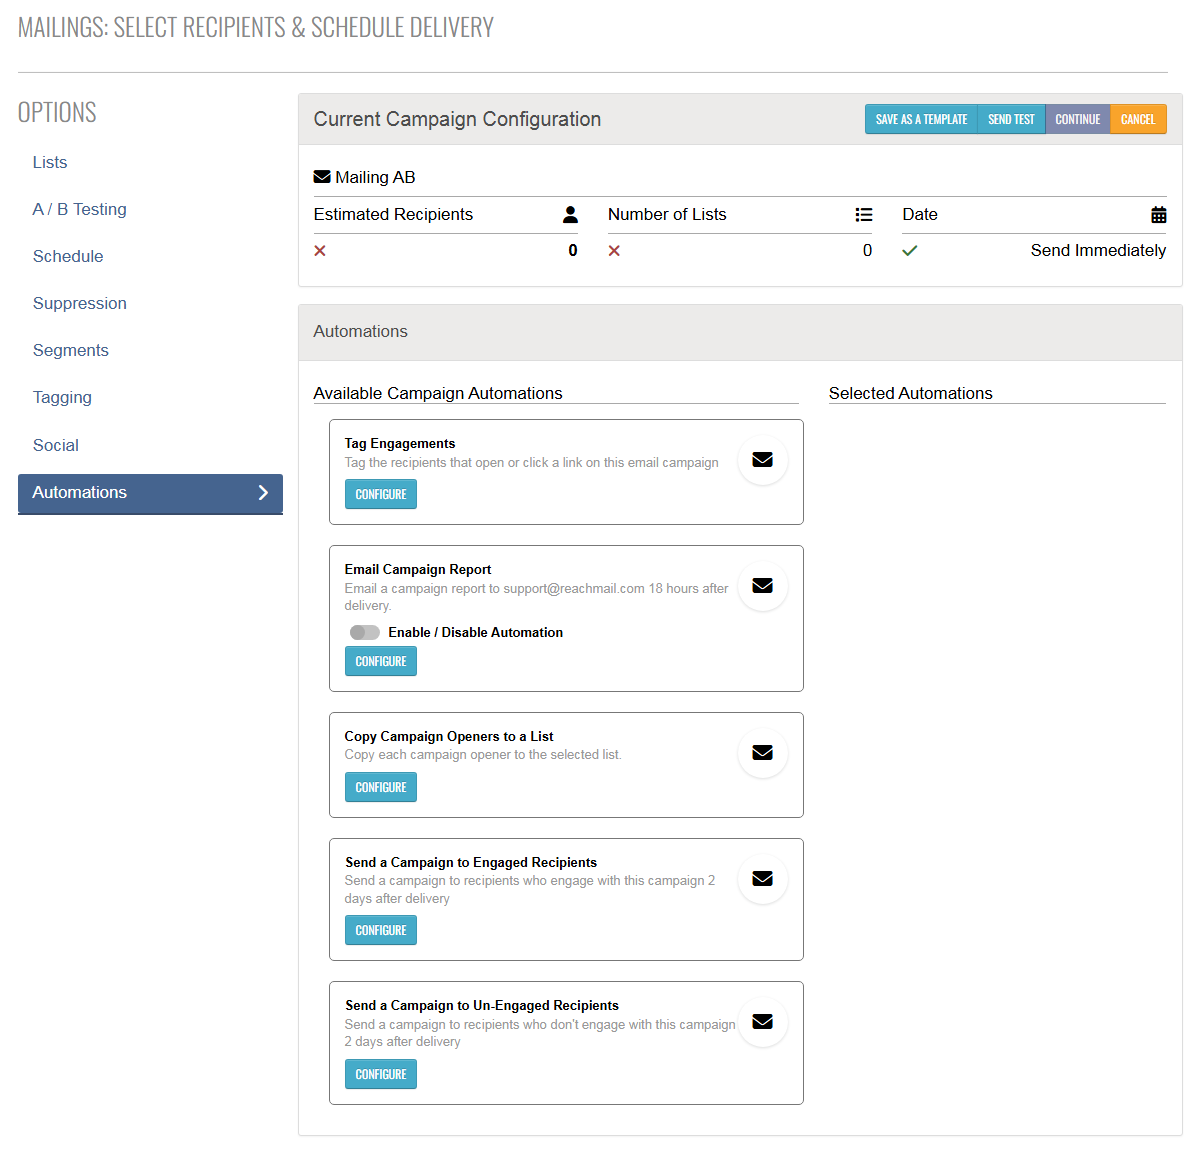
Automations
The Automations option lets you set up automatic actions:
- Tag recipients based on opens or clicks
- Generate email campaign reports
- Build targeted segments to send timely, relevant content
Note: This feature is exclusively available to accounts subscribed to a ReachMail Pro plan.
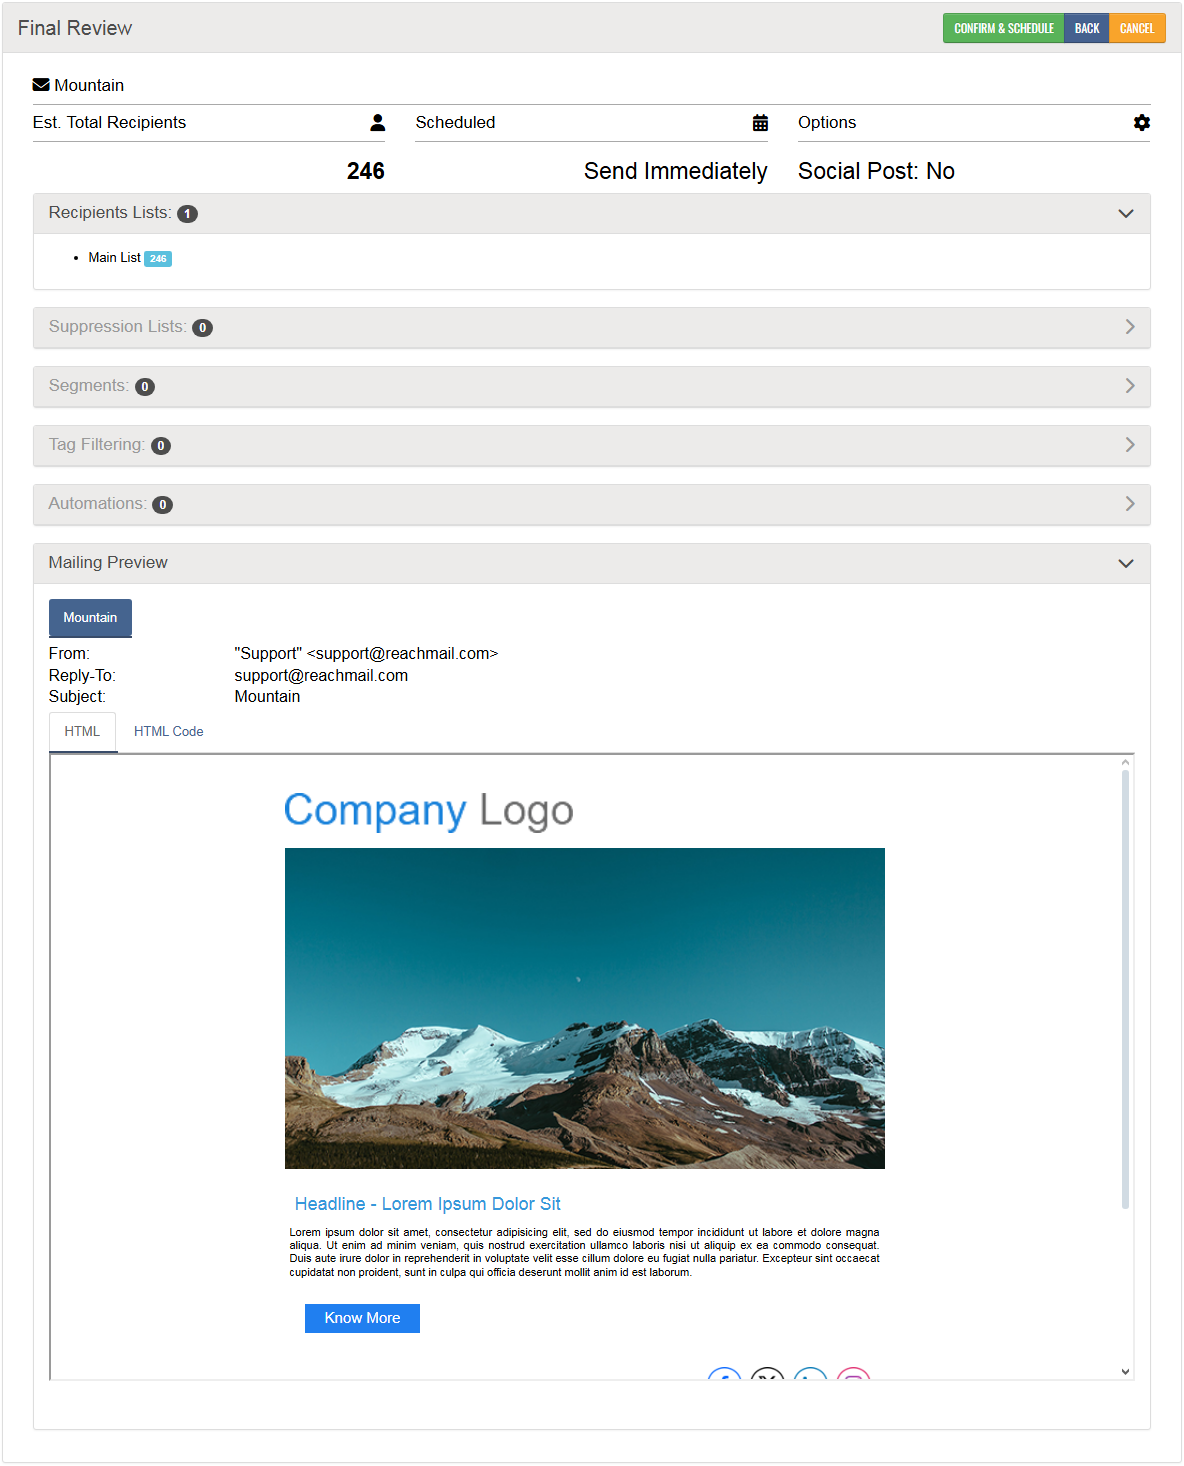
Final Review
After selecting your campaign options:
- Click Continue to:
- Preview your message
- View the estimated recipient count
- See any applied suppressions or segments
- After reviewing, click Confirm & Schedule to send your campaign
To cancel a scheduled campaign:
- Go to the Mailings tab
- Click View Scheduled
- Select the campaign you want to cancel
- Click the Terminate button